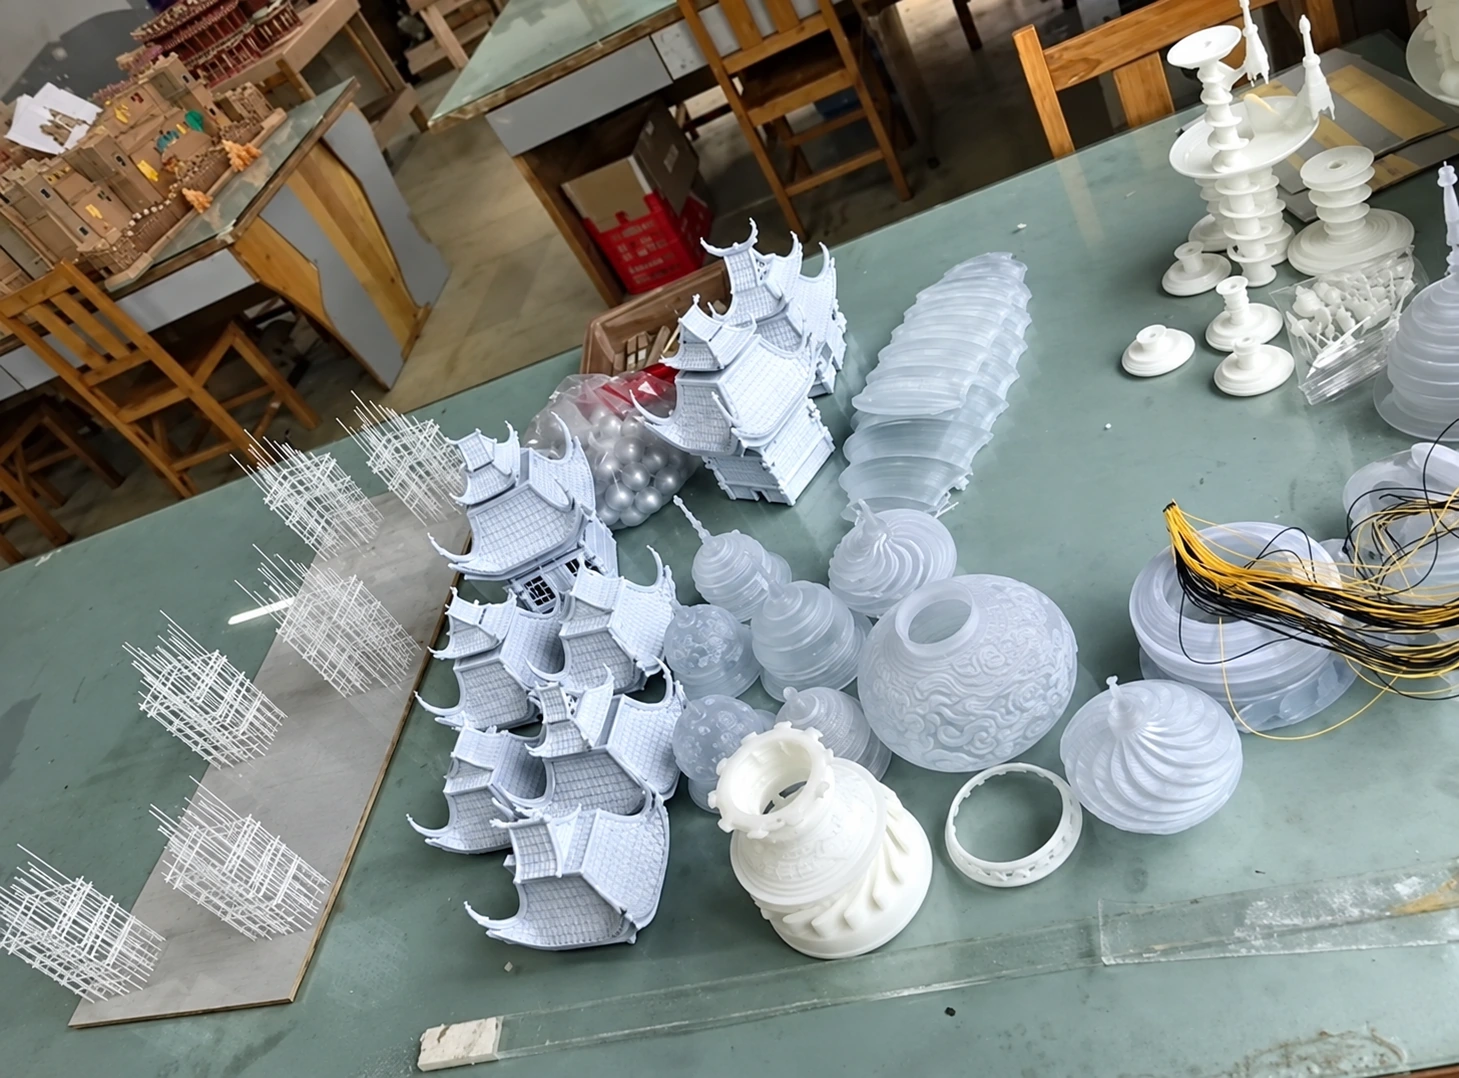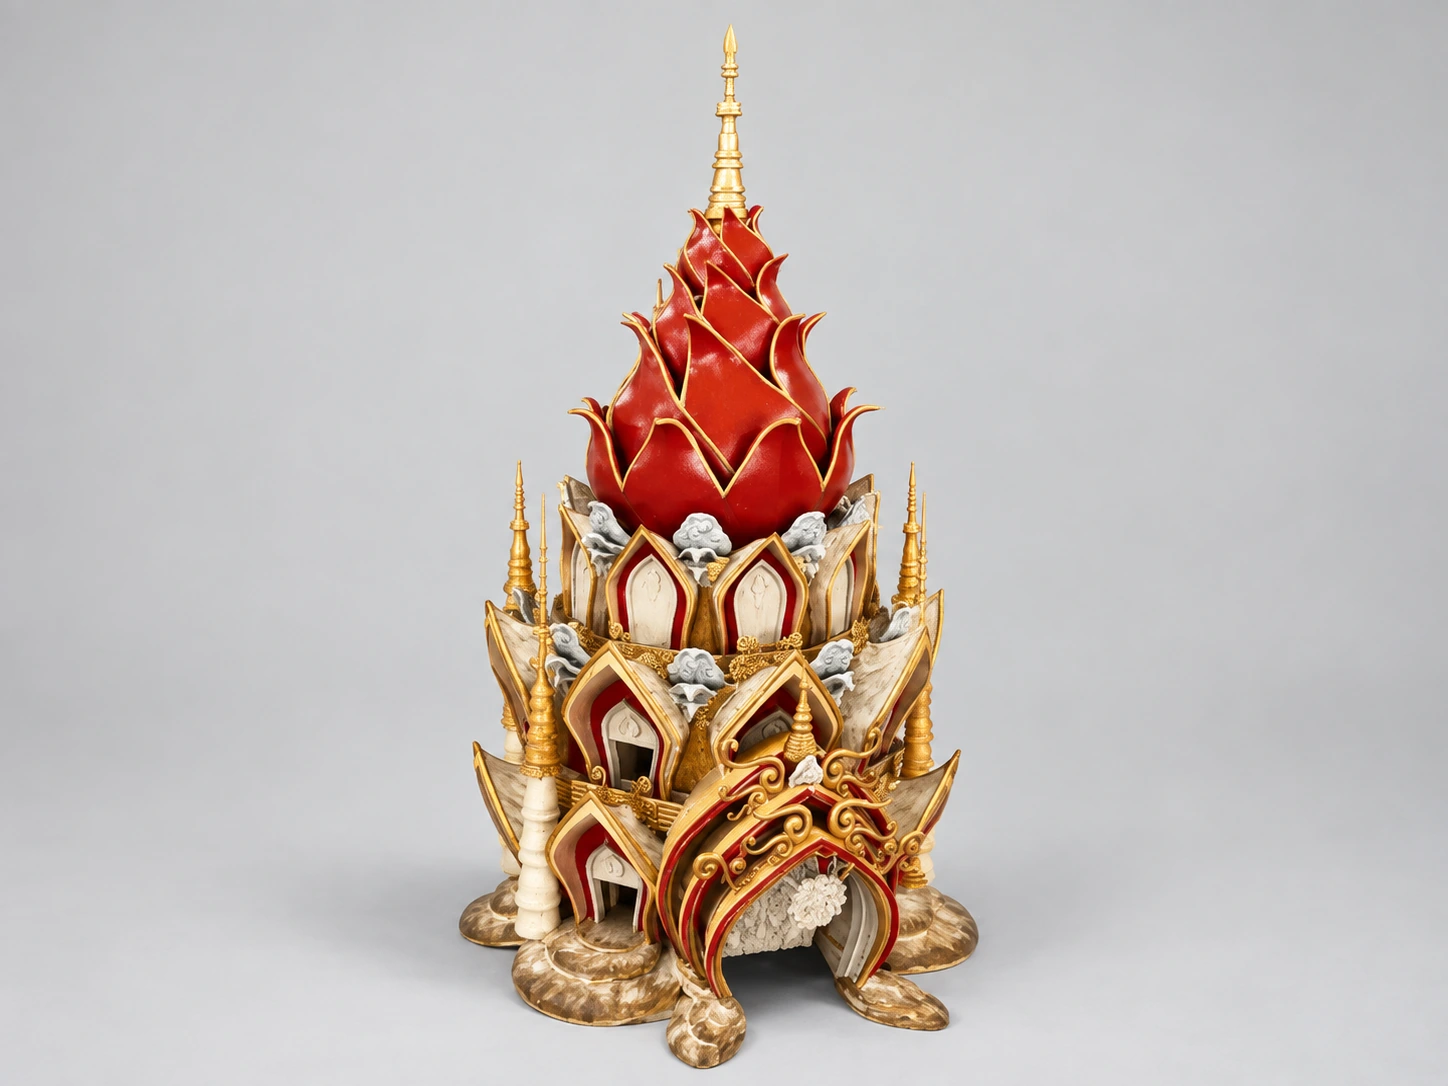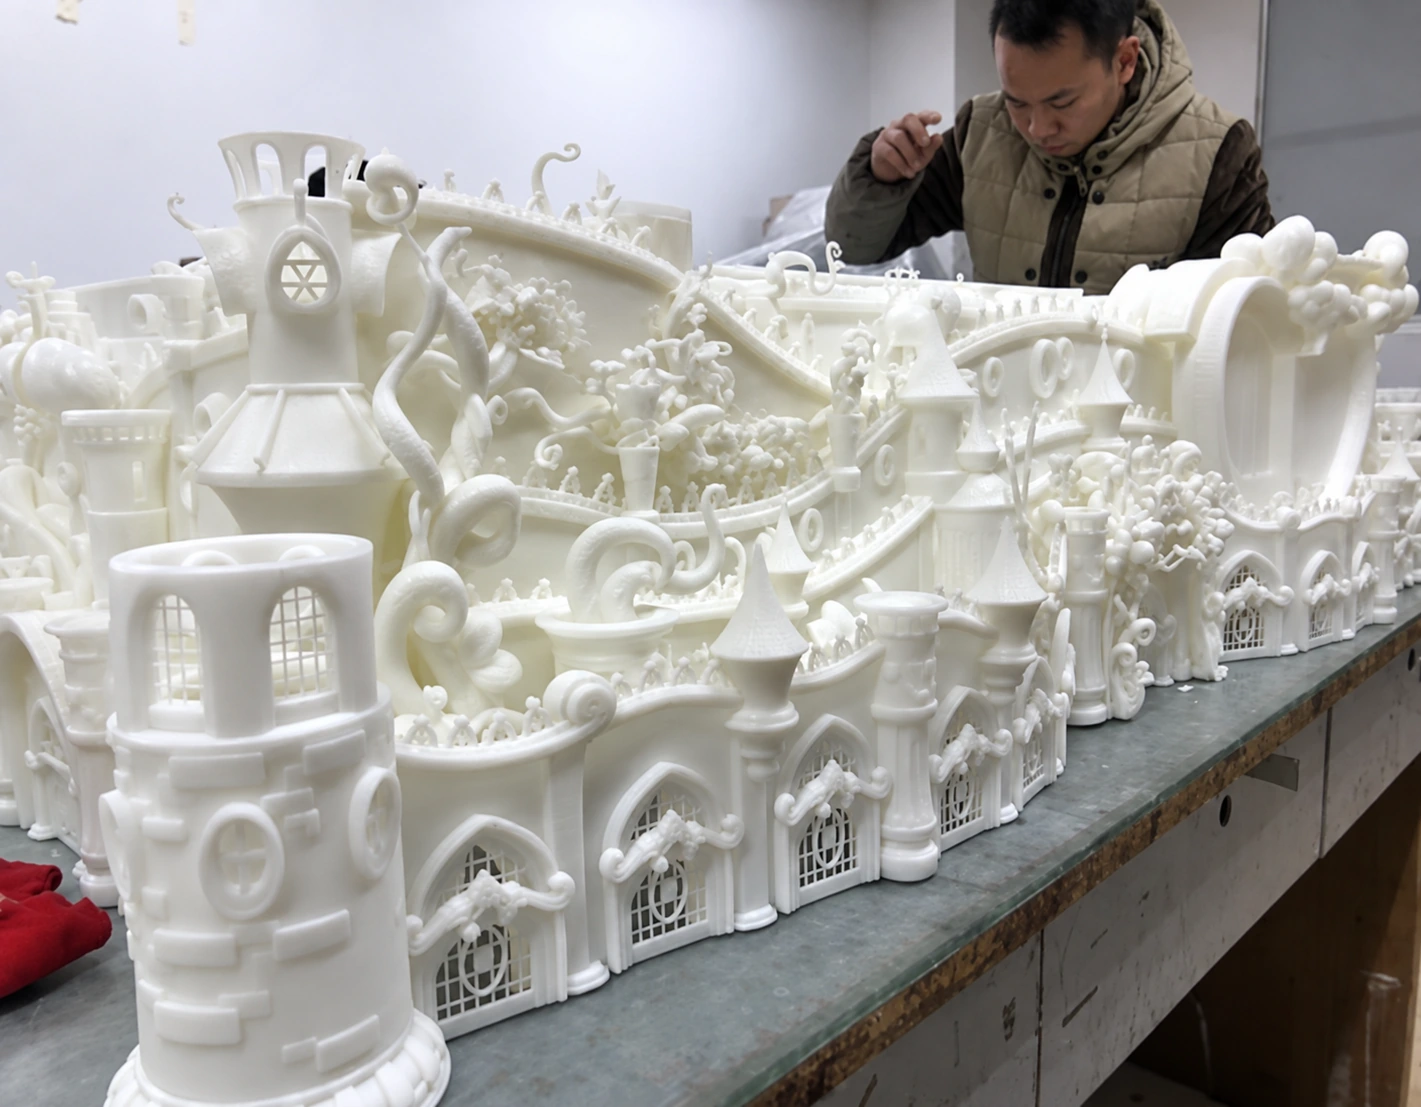
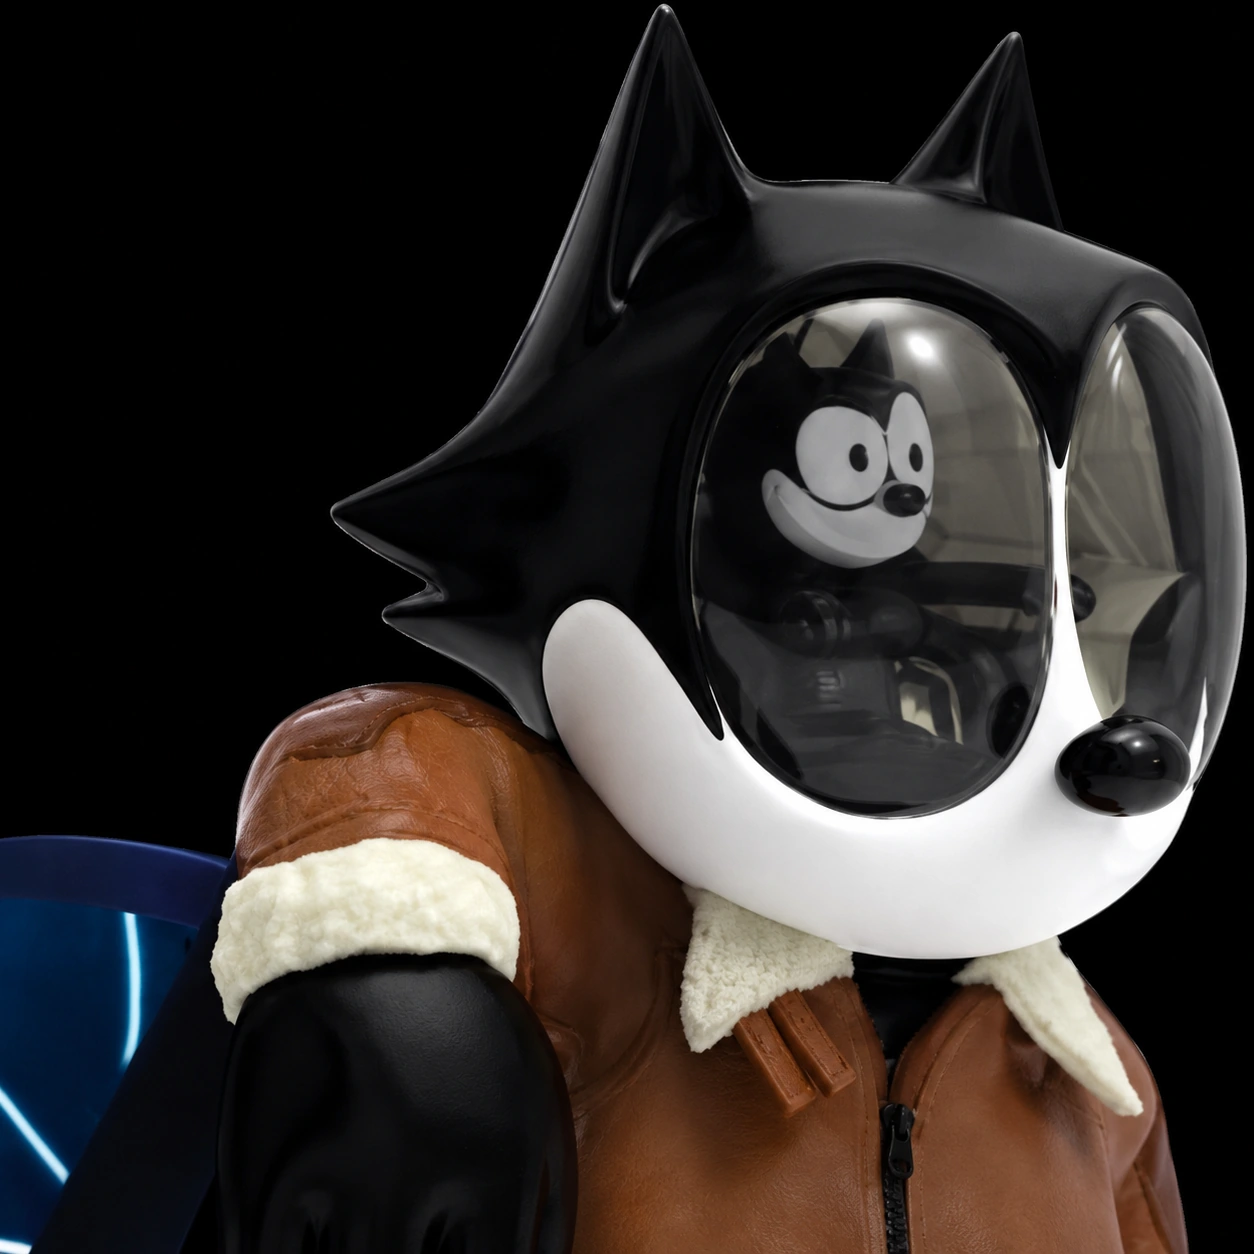
A character figure needs more than a front-view drawing. Define the pose, silhouette, expressions, scale and color references, then develop a 3D model that can be fabricated, finished and assembled. Review its identity and physical construction at separate approval stages.
Build a reference pack that protects the character’s identity
Identify the details that make the character recognizable: the relationship between the eyes, the shape of the head, a costume feature or a particular gesture. Mark these as priorities in the brief. A small accessory can matter more to recognition than a much larger surface.
Provide front, side and rear views where available, plus close-ups of the face and accessories. If only a single drawing exists, explain which parts are fixed and which can be interpreted. This makes missing information visible before the modeling stage.
Use artwork you have the right to reproduce. Keep references for identity separate from references for finish. A photo of a glossy surface can explain sheen without implying that another character’s design should be copied.
Judge the pose at the size you will actually make
A pose that works on a screen may need adjustment as a physical object. Consider how the figure stands, where it connects to its base and which thin elements project into open space. Long fingers, narrow ankles, straps and floating accessories deserve specific review.
Share the intended height and display setting early. A desk figure, a larger retail character and an installation may call for different construction and handling plans. Discuss the viewing distance as well as size: some sculpted detail will be visible only close up.
This guide concerns display figures and collectibles. If an object is intended as a children’s toy, or has another regulated use, that requirement must be identified separately before choosing materials or committing to production.
Review the 3D model before discussing paint details
Begin with silhouette and proportions. Review the model from the front, sides and rear, then assess the expression and smaller details. Strong surface rendering can distract from an incorrect proportion, so ask to see an unpainted or neutral-shaded view as part of the review.
Agree on part separation at the same time. Separate components may improve access for painting and assembly, but they also create joints. Discuss where those joints sit, how the parts connect and whether an accessory should be attached permanently or packed separately.
| Review stage | Focus |
|---|---|
| Overall form | Pose, silhouette, proportions and base |
| Detailed model | Expression, clothing, accessories and joint locations |
| Color proof or sample | Color boundaries, sheen and small painted details |
| Finished piece | Appearance, fit, stability and packaging plan |
Specify color and surface character together
“Black” alone does not describe the same result as matte black fabric beside a glossy black visor. List colors by component and describe how each surface should look. Where available, supply physical color references or agreed color codes, then decide whether a sample is needed.
Small details should be evaluated on the actual geometry. A painted line across a curved face reads differently from a line in a flat drawing. Review facial features at normal viewing distance and close up so a correction solves the real presentation problem.
Close the brief with assembly and packaging decisions
A figure’s most delicate feature can determine how it should be packed. State whether the recipient should assemble any parts and include instructions if assembly is part of the agreed delivery. Display bases, nameplates and protective covers should be considered before packaging dimensions are fixed.
To start a Nexbie project, send the character references, approximate height, quantity and deadline. Our design conversation can then establish what needs modeling, which approvals are useful and how the final piece should be presented.
Common questions
Can you work from a single character drawing?
A single drawing can start the conversation. Additional views or design development will be needed to resolve depth, unseen surfaces and the final construction.
Should I approve the model and the finish at the same time?
It is usually clearer to approve the form first and then evaluate the color and finish against that form. The exact approval sequence is agreed in the project scope.